


TRIO Front Shock Installation Tutorial
Installation of the TRIO Front Shock may seem daunting, but don't let it fool you. Watch along as Former Timbersled Product Pro, Brett Blaser, installs the TRIO on a KTM dirt bike and explains how quick and easy it really is.
Video Highlights
|
Topic(s): |
How to Install a TRIO Front Shock |
|
Narrator/Persons featured: |
Former Timbersled Product Pro, Brett Blaser & Nick from Timbersled |
|
Location(s): |
Timbersled Garage in Sandpoint, Idaho |
|
Product(s) featured: |
KTM dirt bike, Yamaha dirt bike |
Video Transcription
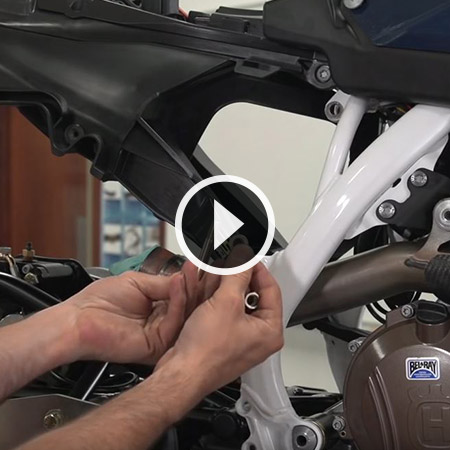
Brett Blaser: “Hi, I'm Brett with Timbersled. Today, we're going to talk briefly about how to install the new Timbersled TRIO and I'll show you how quick and easy it is. Before you begin, make sure you have an install kit, the proper install kit, and inside the install kit you'll find the instructions. Read through the instructions, grab your safety galsses, and let's go.
The first thing we want to do is get our bike up on a stand with a ski just off the ground and properly secured so nothing can tip over. Make sure the fork tubes are in the proper or stock height position before you begin. Remove the rear bolt and the aluminum spacer from the ski mounting block on the spindle. During this installation, Nick from Timbersled is also going to give me a hand.
Next, I'm going to remove the front number plate and the front fender. Next, we're going to mount the upper TRIO mounting bracket to the top of the TRIO shock. Note that this is a KTM mounting bracket and it can be oriented forward or back, it's universal. Other mounting brackets, for example this is the Yamaha, have a specific mounting position and the slotted holes have to go towards the front of the bike. Make sure and properly torque all the bolts just to the spec that's in the install instructions.
Next, we're going to put the bolts in the mounting bracket and locate it into the fender, like this. Make sure you have the EVOL chamber towards the back of the bike. Move the TRIO and the fender into position and then tighten the upper two bolts. Make sure and torque all your bolts to spec.
Make sure to put the spacers in, then bring the TRIO shock into position. The TRIO shock is designed to have about a quarter of an inch of preload built into it. If the shock is too long, you can always bleed air out of the main chamber.
The next thing we're going to do is set the pressure in both chambers of the TRIO shock. You can follow the installation instructions and see the recommended pressures based on your weight and then adjust it to your preference. Make sure and set the EVOL chamber pressure first. Next, we'll set the main pressure.
A quick not on tuning, the main chamber of the Timbersled TRIO regulates the spring rate, it's essentially the same as going to stiffer springs in your front forks. The EVOL chamber regulates the spring rate in the final portion of your travel, so it's like your bottom out protection. You can set each chamber based on your preference using the chart in the instructions as your guide. I think the next thing to do is just to head out and ride."


Share this story